 We've all experienced it at some point – that heart-stopping moment when our beloved smartphone slips from our grip and plummets toward the unforgiving ground. The dreaded crack that follows is enough to make anyone cringe. But what if I told you there's a powerful force working tirelessly to protect your phone from these everyday mishaps? Enter Gorilla Glass, the invisible hero of smartphone protection. In this blog post, we'll unmask the powerhouse of screen protection and discover how it's making screen replacements a thing of the past. The Birth of Gorilla Glass: A Brief History  Gorilla Glass was developed by Corning Incorporated, a company with a long-standing history of creating innovative glass technologies. It all started in 2007 when the company set out to develop a new type of thin, lightweight, and incredibly tough glass. The result was Gorilla Glass, a remarkable material that combines durability and elegance to protect our gadgets. Today, Gorilla Glass is an industry standard for smartphone screens, and it's not just limited to smartphones; you can find this revolutionary material on tablets, laptops, and even wearables. Strength in Numbers: The Science Behind Gorilla Glass But what makes Gorilla Glass so special? The secret lies in its unique manufacturing process and chemical composition. Let's dive into the science behind this screen-saving marvel. Aluminosilicate Glass: The Core Ingredient At its core, Gorilla Glass is an aluminosilicate glass. Its primary ingredients are aluminum, silicon, oxygen, and other minor elements. The unique combination of these elements gives Gorilla Glass its trademark toughness. Ion-Exchange Process: The Secret Sauce The real magic happens during a process called ion exchange. Gorilla Glass is submerged in a hot bath of molten potassium salt, where larger potassium ions replace smaller sodium ions in the glass. This process creates a layer of compressive stress on the glass surface, making it much more resistant to scratches, cracks, and breaks. Reducing Screen Replacement Costs with Gorilla Glass With the ever-increasing cost of smartphones, the last thing anyone wants is to fork out even more money for a screen replacement. That's where Gorilla Glass comes in. Its superior durability can help to significantly reduce the risk of screen damage, which means you're less likely to need a costly screen replacement. Of course, accidents still happen, and no material is entirely indestructible. However, Gorilla Glass has consistently proven far more resilient than traditional glass, helping keep your phone looking pristine for longer. Gorilla Glass: An Evolving Legacy Since its introduction, Gorilla Glass has undergone multiple upgrades, with each new generation boasting improved durability, scratch resistance, and thinness. This constant evolution keeps Gorilla Glass at the forefront of screen protection technology, ensuring your devices stay well-guarded against daily wear and tear. Final Thoughts: Embrace the Power of Gorilla Glass Now that we've unmasked the powerhouse of smartphone protection, it's easy to see why Gorilla Glass has become a staple in mobile devices. Its unique combination of strength, beauty, and lightweight design has undoubtedly changed the game regarding screen protection. Next time you shop for a new smartphone, check if it's equipped with Gorilla Glass. It might save you the headache (and the expense) of a dreaded screen replacement. And if you're one of the lucky ones already sporting Gorilla Glass on your device, take a moment to appreciate the powerful, invisible force working tirelessly to keep your screen safe from harm. So, embrace the power of Gorilla Glass. It will enhance your device's durability and give you peace of mind knowing your precious gadget has added protection against life's unexpected bumps and drops. With Gorilla Glass, you can confidently navigate the digital world without worrying about the fragility of your screen. Happy scrolling!
0 Comments
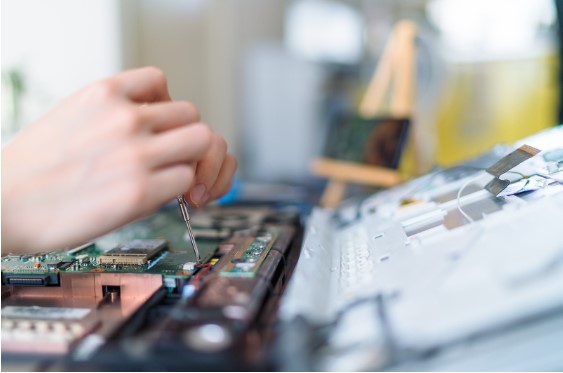 Are you dealing with a troublesome HP laptop? Has it suddenly slowed down, overheated, or even refused to turn on? Don't worry; we've got you covered. This comprehensive repair guide will explore various methods for reviving your HP laptop and getting it back in action. We'll discuss essential tools, diagnostic techniques, and solutions for common issues that plague HP laptops. Then, with our step-by-step guide to laptop repairs, you'll be well-equipped to tackle your device's problems and get it running like new again. Recognizing Common HP Laptop Issues Overheating and Performance Declines Over time, your HP laptop may overheat, leading to slower performance or unexpected shutdowns. Dust accumulation, fan malfunctions, and worn-out thermal paste can cause these issues. Power and Charging Problems Laptops sometimes develop problems with their charging systems. Your HP laptop must be charging or holding a charge, or it may fail to turn on even when connected to a power source. Faulty power adapters, damaged batteries, or issues with the laptop's internal power components can be the culprits. Display and Screen Issues Cracked screens, flickering displays or lines across the screen can frustrate any laptop user. These issues can arise from accidents, manufacturing defects, or regular wear and tear. Essential Tools for HP Laptop Repairs A successful laptop repair often depends on having the right tools for the job. Here are some essential items you'll need for most repairs:
Step-by-Step Guide to Troubleshooting and Repair Step 1: Initial Assessment First, assess the issue and determine if it's something you can fix. Software-related problems, such as viruses or outdated drivers, can be resolved using antivirus programs or updating your drivers. However, hardware issues may require opening your laptop and replacing parts. Step 2: Backup Your Data Before attempting laptop repairs, backing up your important files and data is crucial. If your laptop is functional enough to transfer files, use an external hard drive or cloud storage to protect your data. Step 3: Diagnose the Problem Try to identify the root cause of the problem. Then, use online resources like HP's support website and forums to gather information on your issue. Step 4: Disassemble Your Laptop Please turn off your laptop and disconnect all power sources. Next, disassemble your device using an HP service manual for your specific model. Take photos of each step to help you reassemble your laptop later. Step 5: Perform the Repair Based on your diagnosis, perform the necessary repair. This may involve cleaning internal components, replacing faulty parts, or applying new thermal paste. Step 6: Reassemble and Test After completing the repair, reassemble your laptop, reconnect it to a power source, and test its functionality. Ensure your issue has been resolved and your laptop is running smoothly. When to Seek Professional Help 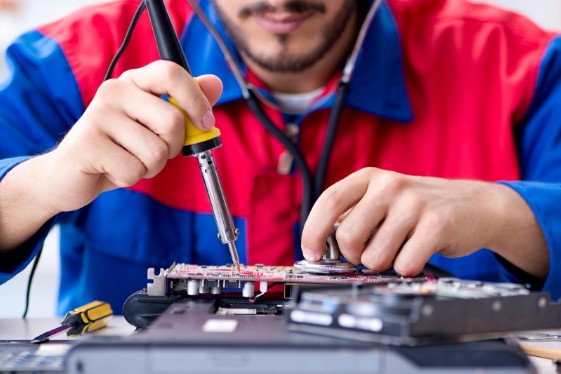 While DIY laptop repairs can save you money, there are times when professional assistance is necessary. For example, if you're uncomfortable opening your laptop or need clarification on the problem, it's best to consult an expert. Also, contact HP support for guidance or service if your computer is still under warranty.
Conclusion Laptop repairs can be intimidating, but with a comprehensive guide like this, you'll be well-prepared to tackle the most common HP laptop issues. You can successfully revive your HP laptop and extend its lifespan by recognizing the symptoms, gathering the essential tools, and following our step-by-step troubleshooting guide. Remember, if you need clarification on a repair or your laptop is under warranty, it's best to consult an HP professional. But with the right resources, patience, and technical know-how, you'll be well on your way to restoring your HP laptop to peak performance. Happy repairing! 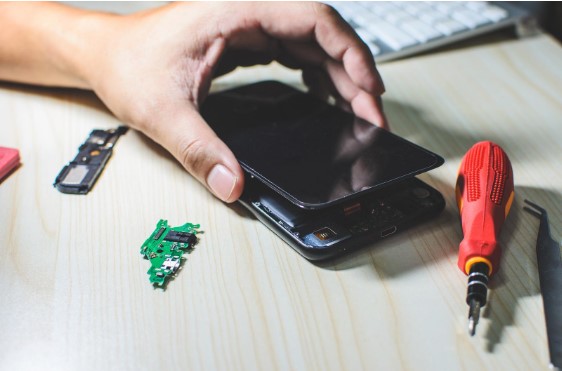 Are you tired of looking at a cracked or broken cell phone screen? Does it give you a headache trying to read or respond to messages? Fear not, because Cellphone Repair Solutions has got you covered. With their screen replacement services, you can have a new-looking phone in no time. Keep reading to learn why getting your cell phone screen replaced at Cellphone Repair Solutions is the best decision you can make. Expert Technicians at Your Service At Cellphone Repair Solutions, they pride themselves on having a team of highly skilled and experienced technicians who are dedicated to fixing your cell phone screen. Their technicians undergo rigorous training and have the certifications to provide top-notch services. In addition, they can replace any screen, regardless of the phone model or brand. So you can rest assured that your phone is in good hands. Affordable Screen Replacement Replacing a cell phone screen can be costly, especially if you take it to the manufacturer. However, Cellphone Repair Solutions offers affordable screen replacement services that keep the bank intact. Their prices are reasonable and transparent, with no hidden fees or charges. You'll know exactly what you're paying for upfront. Quick Turnaround Time They understand that your phone is essential to your daily life, and having it can be inconvenient. That's why they offer same-day screen replacement services, ensuring you get your phone back as soon as possible. In most cases, they can replace your screen in under an hour, so you don't have to wait long. High-Quality Replacement Parts 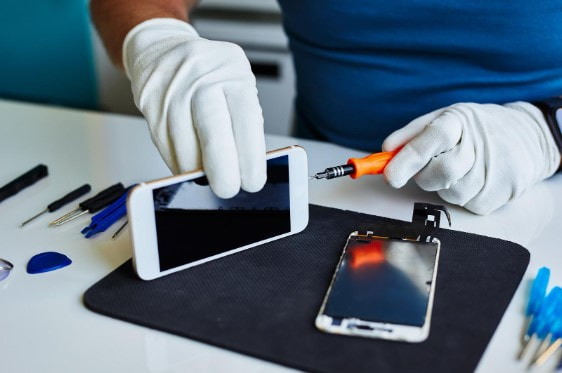 They only use high-quality replacement parts when fixing your phone screen. They understand that a low-quality screen can affect the overall functionality of your phone, so they ensure that the replacement parts they use are of the highest quality. As a result, you can trust that your phone screen will be as good as new once they're done with it.
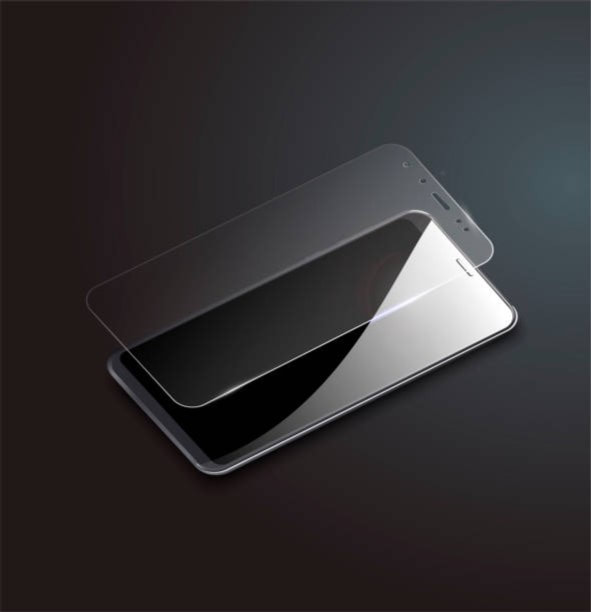
Customer Satisfaction Guaranteed At Cellphone Repair Solutions, customer satisfaction is their top priority. They strive to provide the best possible service to their customers, ensuring that they leave our store happy and satisfied. In addition, they guarantee all their services, so if you're unsatisfied with the screen replacement, they'll do everything possible to make it right. Convenient Location They understand that life can be busy, and taking time to fix your phone can be a hassle. That's why they have conveniently located their store in the heart of the city, making it easy for you to drop off your phone and pick it up after work or during your lunch break. Conclusion In conclusion, if you're looking for a reliable and affordable screen replacement service, look no further than Cellphone Repair Solutions. Their expert technicians, quick turnaround time, high-quality replacement parts, and customer satisfaction guarantee, make them the best choice for your cell phone screen replacement needs. So don't suffer through a cracked or broken screen any longer; come to Cellphone Repair Solutions today, and let them fix it for you. 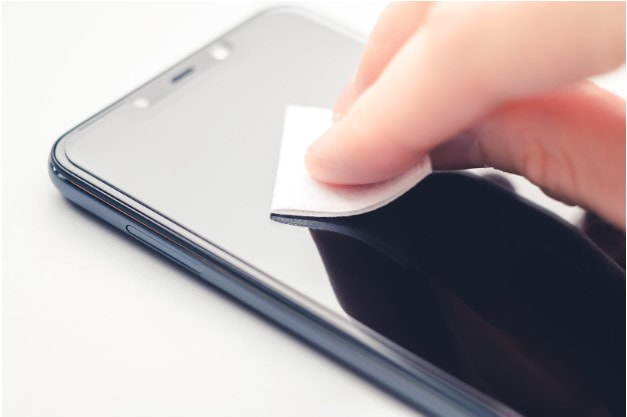 Are you tired of seeing scratches and cracks on your phone screen? Have you considered a screen replacement but don't want to spend the money or time? Well, you're in luck! In this ultimate guide, we'll show you how to replace your phone screen protector without hassle. Why Replace Your Screen Protector? Before we dive into replacing your screen protector, let's discuss its importance. Screen protectors are a protective layer for your phone screen, preventing scratches and cracks. Without a screen protector, your phone is vulnerable to damage from everyday use, such as accidentally dropping it or placing it in your pocket with sharp objects. Replacing your screen protector ensures that your phone screen remains protected, prolonging your phone's lifespan and saving you money in the long run. Gather Your Materials Now that you know why replacing your screen protector is essential, let's gather the necessary materials. You'll need a new screen protector (make sure it's the correct size and type for your phone), a microfiber cloth, and a dust removal sticker. You can purchase these materials at any phone accessory store or online. Clean Your Phone Screen Before applying the new screen protector, cleaning your phone screen thoroughly is essential. Use the microfiber cloth to wipe away dirt or debris on the phone screen. Make sure there are no fingerprints or smudges left behind. If there are stubborn smudges, you can use a small amount of screen cleaner and wipe them away with the microfiber cloth. Remove the Old Screen Protector 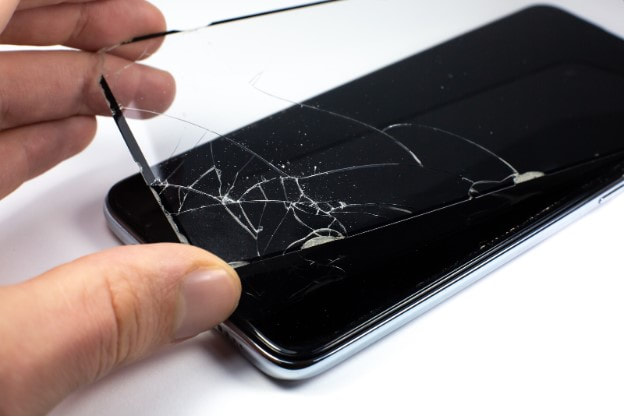 If you already have a screen protector on your phone, remove it before applying for the new one. First, gently lift one corner of the screen protector with your fingernail or a plastic card. Then, slowly peel away the screen protector from your phone, being careful not to scratch the screen. If the screen protector is stubborn, you can use a hairdryer on low heat to soften the adhesive. Remove Dust and Debris Before applying the new screen protector:
Apply the New Screen Protector 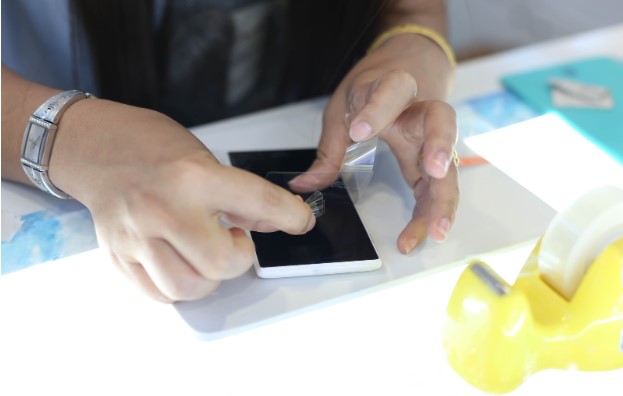 Now that your phone screen is clean and debris-free, it's time to apply the new screen protector. First, carefully align the screen protector with your phone, ensuring the edges align with the screen. Next, slowly lower the screen protector onto your phone, careful not to create bubbles. If there are any bubbles, gently lift and reapply the screen protector.
Smooth Out Any Bubbles If bubbles are on the screen protector, use a plastic card to smooth them out. Start in the center of the screen and work your way to the edges, pushing out any bubbles as you go. If there are any stubborn bubbles, you can use a hairdryer on low heat to soften the adhesive and smooth them out. Check for Alignment Once the screen protector is applied, check for alignment. Make sure the edges of the screen protector line up with the phone screen. If the screen protector is misaligned, gently lift it and reapply it. Let It Set Finally, let the screen protector set for a few minutes before using your phone. This will allow the adhesive to fully bond with the phone screen and ensure the screen protector stays in place. Conclusion Replacing your phone screen protector doesn't have to be a hassle. By following these simple steps, you can return your screen protector quickly. Remember, replacing your screen protector is an essential step in protecting your phone screen and prolonging the life of your phone. With a new screen protector, you can have peace of mind knowing that your phone is protected from scratches, cracks, and other damage.  There's nothing more frustrating than a cracked or broken phone screen. It can interfere with your ability to use your phone, and even worse, it can be expensive to replace. However, a few options are available if you're in a rush and need a quick fix for your cell phone screen replacement. Here are some tips on how to get your phone screen replaced quickly and efficiently. Go to a Professional Repair Shop One of the quickest ways to get your phone screen replaced is to take it to a professional repair shop. These shops specialize in cell phone screen replacement and can often complete the job in under an hour. When looking for a repair shop, be sure to do your research and read reviews from previous customers. Look for a shop that has a good reputation and uses high-quality replacement parts. Additionally, be prepared to pay more for this option, as professional repair shops often charge a premium for their services. Use a Mail-In Service  If you need more time to take your phone to a repair shop in person, you can also use a mail-in service. These services allow you to mail your phone to a repair center, where it will be fixed and sent back to you.
While mail-in services can be convenient, they can also take longer than in-person repairs. For example, returning your phone can take a few days or weeks depending on your service. Additionally, there's always a risk of your phone getting lost or damaged in the mail. DIY Screen Replacement If you're comfortable with technology and have experience with phone repairs, you can also try replacing your screen. But, again, many online tutorials and videos can guide you through the process. However, DIY screen replacement can be risky and time-consuming. If you make a mistake during the repair process, you could further damage your phone and make it unusable. Additionally, you may need access to high-quality replacement parts, which can affect the quality of the repair. Tips for a Quick and Efficient Screen Replacement No matter which option you choose for your cell phone screen replacement, a few tips can help make the process go smoothly and quickly.
Final Thoughts Replacing a cell phone screen can be a hassle, but quick and efficient fix options are available. Whether you go to a professional repair shop, use a mail-in service, or try DIY screen replacement, follow the tips above for a successful repair. Doing so lets you get your phone back in working order and return to using it without interruptions. Additionally, it's important to remember that prevention is the best defense for screen replacement. Investing in a high-quality phone case and screen protector can go a long way in protecting your phone from damage. |