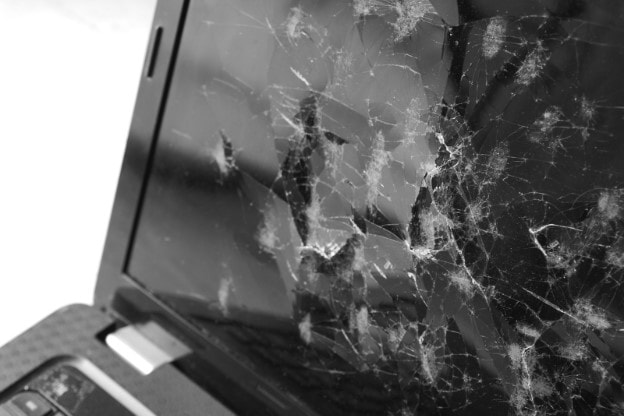
 Hello, tech-savvy readers! We know how devastating it can be to have your laptop screen shattered. But don't worry! We're here to help you bring your precious device back to life! Today, we're focusing on HP laptop screens and sharing our ultimate guide to fixing them. So, keep reading to learn about laptop screen repair and make your device look brand new again. Then, let's dive right in! Assess the Damage and Make a Decision Before diving into the laptop screen repair process, take a moment to assess the damage. If your screen is cracked or shattered, it's time to get to work. You'll also want to decide whether you'd like to repair the screen or have a professional do it. If you're uncomfortable handling delicate electronic parts, it might be better to hand them over to an expert. But we've got your back if you feel adventurous and confident in your abilities! Gather the Necessary Tools and Parts Ready to begin your laptop screen repair journey? Start by gathering the necessary tools and parts. Here's what you'll need:
Make sure to order the right screen for your specific HP laptop model. You can usually find the model number on a sticker on the bottom of the laptop or in the system information. Disconnect and Remove the Battery Safety first! Before you begin any laptop screen repair, always disconnect the laptop from any power source and remove the battery. To remove the battery, slide the locking mechanism to unlock it and then slide the battery out. With the battery removed, press the power button for a few seconds to discharge any residual power. Now you're ready to start! Remove the Screen Bezel Next up, you'll need to remove the screen bezel. This is the plastic frame surrounding your laptop screen. Start using a flathead screwdriver or plastic pry tool to pry the bezel away from the screen gently. Work your way around the entire screen, carefully not to damage any clips holding the bezel in place. Once you've detached the bezel, set it aside. Remove the Broken Screen With the bezel removed, you should see the screws holding the broken screen in place. Carefully remove these screws with your Phillips screwdriver. As you lift the screen away from the laptop, be mindful of the delicate display cable connected at the back. Use a spudger or plastic card to disconnect the cable gently. Congratulations, you've successfully removed the broken screen! Install the New Screen It's time to bring your HP laptop back to life:
Reassemble Your HP Laptop 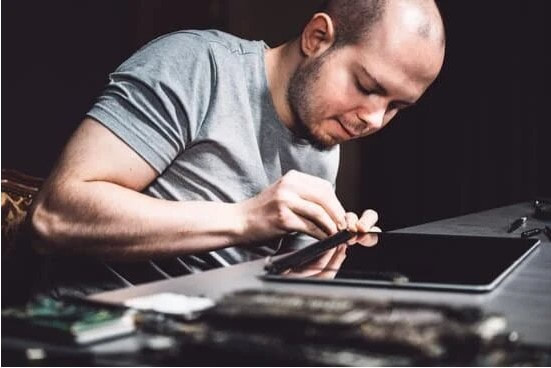 Now, reverse the process to reassemble your laptop. Snap the screen bezel back into place, ensuring all clips are secure. If the bezel is loose, use clear tape to hold it. Finally, reinstall the battery and connect the laptop to a power source.
Power On and Test If you've followed the steps correctly, your HP laptop screen should light up and display the familiar startup logo. Next, test your screen for dead pixels, distorted colors, and flickering. Finally, make sure the brightness controls are working correctly. If everything looks good, give yourself a pat on the back! You've completed a laptop screen repair, and your HP laptop is as good as new. Final Thoughts With patience and handy tools, you can fix and return your shattered HP laptop screen to its original glory. Just remember to assess the damage and make a decision before diving into the repair process. Whether you decide to tackle the laptop screen repair yourself or take it to a professional, we hope this guide has given you the confidence to make an informed decision. Now, it's time to return to work and enjoy your repaired HP laptop screen!
0 Comments
Leave a Reply. |