 As a proud owner of a newly-replaced cell phone screen, you're likely looking to extend the life of your device and ensure that it stays in top-notch condition for as long as possible. Fortunately, with simple tips and tricks, you can effectively care for your phone screen after replacement and enjoy a fully functional device for years. Here are some expert recommendations on how to care for your phone screen after replacement: Invest in a Screen ProtectorAdding a screen protector to your device is a great way to protect your newly-replaced screen from scratches and damage. Screen protectors are typically inexpensive and easy to apply and can be purchased at most phone retailers or online. A quality screen protector can also help to reduce glare and improve the clarity of your phone screen. Avoid Dropping Your PhoneWhile it may seem obvious, avoiding dropping your phone as much as possible is essential, especially after a screen replacement. Dropping your phone can damage your screen again and potentially cause internal damage to the device. Clean Your Screen RegularlyRegularly cleaning your phone screen is an integral part of post-replacement care. Use a microfiber cloth to wipe away fingerprints, smudges, and other debris gently. Avoid using harsh chemicals or abrasive cleaners, which can damage your screen. Keep Your Phone in a Protective Case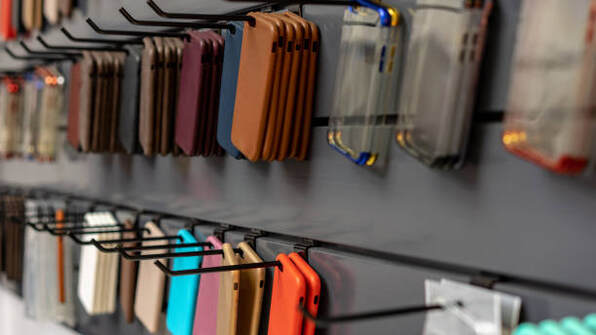 Protective cases are another great way to protect your phone screen from damage. A sturdy case can help absorb shock and prevent cracks and scratches while protecting against accidental drops. Avoid Extreme TemperaturesExtreme temperatures can have a negative impact on your phone screen and other internal components. Avoid exposing your device to extreme heat or cold; never leave it in direct sunlight for extended periods. Be Mindful of Your PocketsIt's essential to be mindful of where you keep your phone, especially in your pockets. For example, avoid keeping your phone in the same pocket as keys, coins, or other hard objects that can scratch or damage your screen. Use Caution When Charging Your PhoneCharging your phone is essential to device maintenance, but it's important to use caution when plugging in your charger. Avoid pulling or twisting the cord, and ensure the charger is securely plugged into the device to prevent damage to your screen or charging port. Keep Your Phone Dry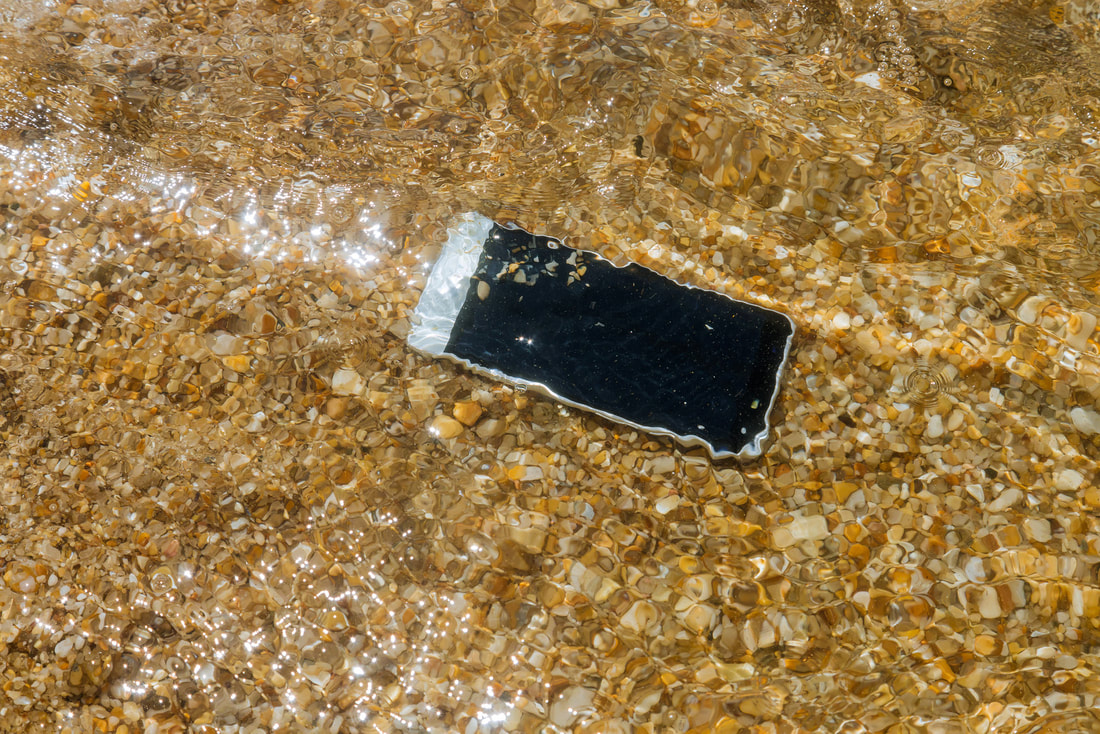 Water damage can be catastrophic for your phone screen and other internal components. Please avoid using your phone in wet or humid environments, and always keep it away from liquids. If your phone does get wet, turn it off immediately and seek professional assistance. Don't Attempt DIY RepairsWhile attempting DIY repairs on your phone screen may be tempting, it's always best to seek professional assistance. Attempting to repair your phone screen on your own can cause additional damage to your device, which can be costly. Schedule Regular MaintenanceFinally, scheduling regular maintenance for your phone is an integral part of post-replacement care. Regular check-ups can help identify potential issues before they become significant problems and keep your device running smoothly for years to come. ConclusionIn conclusion, caring for your phone screen after replacement is crucial for extending the life of your device and ensuring that it remains fully functional.
By investing in a screen protector, avoiding drops and extreme temperatures, and regularly cleaning and maintaining your device, you can protect your phone screen from damage and enjoy a reliable, fully functional device for years.
0 Comments
 As a gamer, you know that the quality of your gaming experience can make or break your gameplay. The right equipment can make all the difference in your gaming success, and one of the most essential pieces of equipment for any gamer is the screen they use. An LCD screen can provide you with the ultimate gaming experience; in this post, we'll explore why. What is an LCD screen? An LCD (Liquid Crystal Display) screen is a flat panel display that uses the properties of liquid crystals to produce images. They are commonly found in televisions, computer monitors, and gaming screens. LCD screens are known for their high resolution and image quality, making them a popular choice for gaming. Why are LCD screens the ultimate choice for gaming?
Tips for choosing an LCD screen for gaming  When choosing an LCD screen for gaming, there are a few factors to consider:
Conclusion An LCD screen can provide you with the ultimate gaming experience. With a high refresh rate, low input lag, high resolution, wide viewing angle, and energy efficiency, an LCD screen can help you stay ahead of the competition and take your gaming to the next level. When choosing an LCD screen for gaming, consider size, resolution, refresh rate, response time, and budget to find the best option for your needs. It's important to note that while an LCD screen can enhance your gaming experience, it's not the only factor to consider. Other aspects of your gaming setup, such as your gaming console or PC, audio equipment, and even the lighting in the room, can all impact your gaming experience. An LCD screen can provide the ultimate gaming experience due to its high refresh rate, low input lag, high resolution, wide viewing angle, and energy efficiency. When choosing an LCD screen for gaming, consider size, resolution, refresh rate, response time, and budget. Remember that your gaming experience combines many factors, so optimize your setup for the best results. Happy gaming!  We've all been there: You're in the middle of an important task or just enjoying your favorite show when suddenly, your laptop's battery drains alarmingly. Fast laptop battery drain can be frustrating and inconvenient, but fear not! This blog post will delve into the common causes of rapid battery depletion and share some tips on extending your laptop's battery life. Plus, we'll discuss when it might be time to seek professional laptop repair. Let's get started! Why Is My Laptop Battery Draining So Fast? Display Brightness and Power Settings The brightness of your laptop's display is one of the primary factors affecting battery life. A brighter screen consumes more power, leading to faster battery drain. Adjusting your screen brightness and tweaking your power settings can significantly extend your laptop's battery life. Background Applications and Processes It's not uncommon for multiple applications and processes to run in the background, consuming power and draining your battery. Keep an eye on your task manager or activity monitor to identify and close unnecessary applications, which can help conserve battery life. Outdated Software and Drivers Outdated software and drivers can negatively impact your laptop's battery life. Regularly updating your laptop's operating system, drivers, and software can improve its performance and energy efficiency. External Devices and Peripherals Connected external devices like USB drives, hard drives, and Bluetooth peripherals can also contribute to faster battery drain. Disconnecting unnecessary external devices when not in use can help conserve power. Tips for Extending Laptop Battery Life  Now that we've identified some common causes of fast laptop battery drain let's explore some tips for extending your laptop's battery life:
When to Seek Professional Laptop Repair Sometimes, your laptop's battery may drain quickly despite your best efforts. In these cases, it might be time to seek professional laptop repair. Here are some signs that your battery may need professional attention:
Conclusion Fast laptop battery drain can be frustrating, but understanding the common causes and implementing the tips in this blog post can help you optimize your laptop's performance and maximize your battery life. Remember to regularly monitor your laptop's battery health and replace it when needed to ensure optimal performance. If you encounter persistent battery issues despite trying these tips, it's essential to consult a professional laptop repair service. Taking care of your laptop's battery can save you from the inconvenience of a dead battery and extend your device's lifespan. So, stay informed and proactive, and enjoy a longer-lasting, more efficient laptop experience! 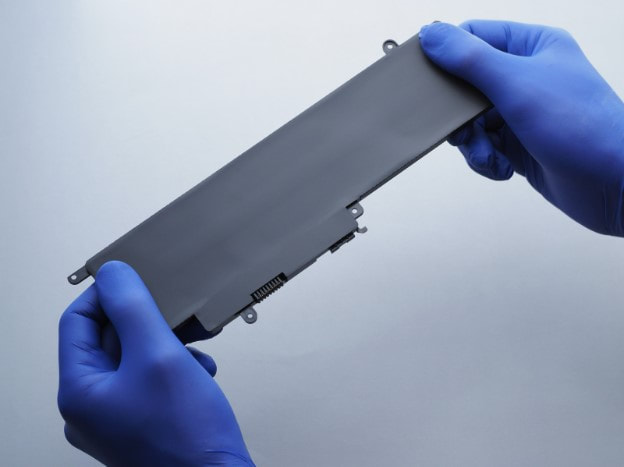 If you're like most people, your laptop is an essential part of your life. Whether you use it for work, school, or entertainment, you depend on it to function correctly. However, after a few years of use, your laptop's battery life can start to dwindle, leaving you tethered to an outlet and unable to use your device on the go. But don't worry – replacing your laptop battery is easier than you think. This comprehensive guide will show you how to revive your old laptop with a new battery. Why Laptop Repairs Matter Laptops are no longer just luxury items but necessities in today's world. Many people replace their old laptops with new ones, which is only necessary. With basic laptop repairs, your device can run like new. Is it Time to Replace Your Laptop Battery? Your laptop battery is a crucial component that allows you to use your device on the go. However, over time, it can wear out and lose effectiveness. Here are some signs that it may be time to replace your laptop battery:
If you're experiencing any of these issues, it indicates that it's time to replace your laptop battery. Choosing the Right Replacement Battery  Once you've determined that your laptop battery needs to be replaced, choosing a suitable replacement is essential. You can usually find replacement batteries online or at electronics stores, but research before purchasing. Here are some factors to consider when choosing a replacement battery:
How to Replace Your Laptop Battery Now that you've chosen the correct replacement battery, it's time to replace your old battery with the new one. Follow these steps to complete the replacement process:
Caring for Your New Battery Once you've successfully replaced your laptop battery, it's essential to take care of it to ensure that it lasts as long as possible. Here are some tips for caring for your new battery:
Taking care of your laptop ensures its longevity and optimal performance. Replacing your laptop battery is a quick and easy way to revive your old laptop, and it's a significant first step in any laptop repairs. Choose the correct replacement battery, follow the process, and take good care of your new battery. 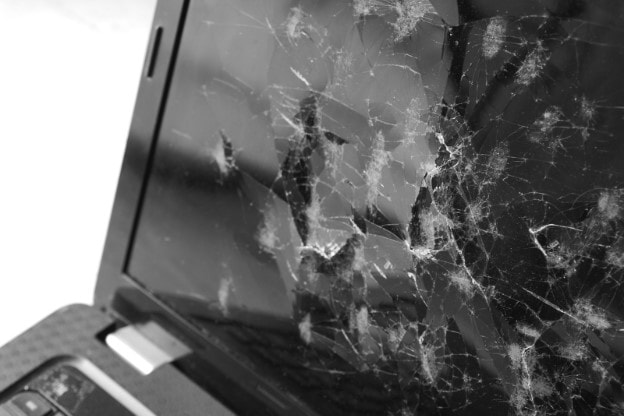 Hello, tech-savvy readers! We know how devastating it can be to have your laptop screen shattered. But don't worry! We're here to help you bring your precious device back to life! Today, we're focusing on HP laptop screens and sharing our ultimate guide to fixing them. So, keep reading to learn about laptop screen repair and make your device look brand new again. Then, let's dive right in! Assess the Damage and Make a Decision Before diving into the laptop screen repair process, take a moment to assess the damage. If your screen is cracked or shattered, it's time to get to work. You'll also want to decide whether you'd like to repair the screen or have a professional do it. If you're uncomfortable handling delicate electronic parts, it might be better to hand them over to an expert. But we've got your back if you feel adventurous and confident in your abilities! Gather the Necessary Tools and Parts Ready to begin your laptop screen repair journey? Start by gathering the necessary tools and parts. Here's what you'll need:
Make sure to order the right screen for your specific HP laptop model. You can usually find the model number on a sticker on the bottom of the laptop or in the system information. Disconnect and Remove the Battery Safety first! Before you begin any laptop screen repair, always disconnect the laptop from any power source and remove the battery. To remove the battery, slide the locking mechanism to unlock it and then slide the battery out. With the battery removed, press the power button for a few seconds to discharge any residual power. Now you're ready to start! Remove the Screen Bezel Next up, you'll need to remove the screen bezel. This is the plastic frame surrounding your laptop screen. Start using a flathead screwdriver or plastic pry tool to pry the bezel away from the screen gently. Work your way around the entire screen, carefully not to damage any clips holding the bezel in place. Once you've detached the bezel, set it aside. Remove the Broken Screen With the bezel removed, you should see the screws holding the broken screen in place. Carefully remove these screws with your Phillips screwdriver. As you lift the screen away from the laptop, be mindful of the delicate display cable connected at the back. Use a spudger or plastic card to disconnect the cable gently. Congratulations, you've successfully removed the broken screen! Install the New Screen It's time to bring your HP laptop back to life:
Reassemble Your HP Laptop  Now, reverse the process to reassemble your laptop. Snap the screen bezel back into place, ensuring all clips are secure. If the bezel is loose, use clear tape to hold it. Finally, reinstall the battery and connect the laptop to a power source.
Power On and Test If you've followed the steps correctly, your HP laptop screen should light up and display the familiar startup logo. Next, test your screen for dead pixels, distorted colors, and flickering. Finally, make sure the brightness controls are working correctly. If everything looks good, give yourself a pat on the back! You've completed a laptop screen repair, and your HP laptop is as good as new. Final Thoughts With patience and handy tools, you can fix and return your shattered HP laptop screen to its original glory. Just remember to assess the damage and make a decision before diving into the repair process. Whether you decide to tackle the laptop screen repair yourself or take it to a professional, we hope this guide has given you the confidence to make an informed decision. Now, it's time to return to work and enjoy your repaired HP laptop screen! |