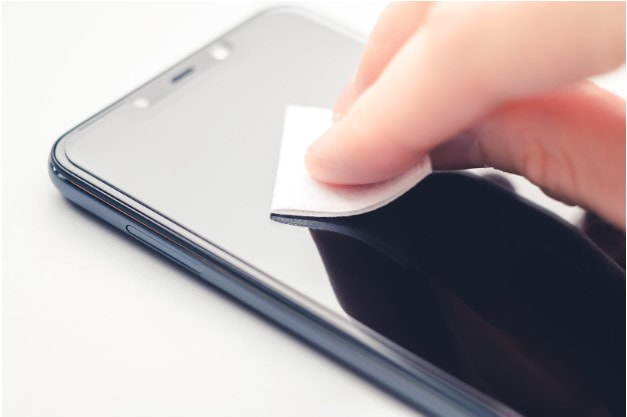
 Are you tired of seeing scratches and cracks on your phone screen? Have you considered a screen replacement but don't want to spend the money or time? Well, you're in luck! In this ultimate guide, we'll show you how to replace your phone screen protector without hassle. Why Replace Your Screen Protector? Before we dive into replacing your screen protector, let's discuss its importance. Screen protectors are a protective layer for your phone screen, preventing scratches and cracks. Without a screen protector, your phone is vulnerable to damage from everyday use, such as accidentally dropping it or placing it in your pocket with sharp objects. Replacing your screen protector ensures that your phone screen remains protected, prolonging your phone's lifespan and saving you money in the long run. Gather Your Materials Now that you know why replacing your screen protector is essential, let's gather the necessary materials. You'll need a new screen protector (make sure it's the correct size and type for your phone), a microfiber cloth, and a dust removal sticker. You can purchase these materials at any phone accessory store or online. Clean Your Phone Screen Before applying the new screen protector, cleaning your phone screen thoroughly is essential. Use the microfiber cloth to wipe away dirt or debris on the phone screen. Make sure there are no fingerprints or smudges left behind. If there are stubborn smudges, you can use a small amount of screen cleaner and wipe them away with the microfiber cloth. Remove the Old Screen Protector 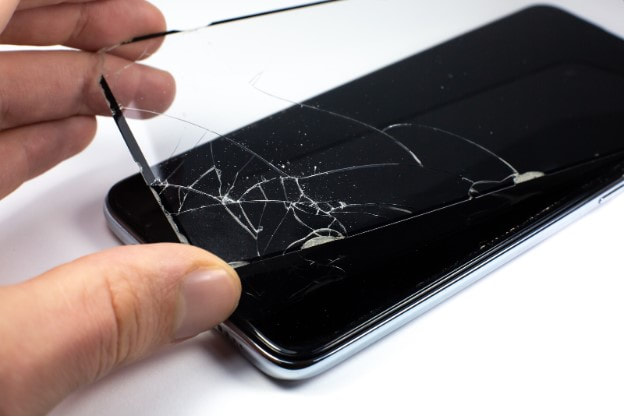 If you already have a screen protector on your phone, remove it before applying for the new one. First, gently lift one corner of the screen protector with your fingernail or a plastic card. Then, slowly peel away the screen protector from your phone, being careful not to scratch the screen. If the screen protector is stubborn, you can use a hairdryer on low heat to soften the adhesive. Remove Dust and Debris Before applying the new screen protector:
Apply the New Screen Protector 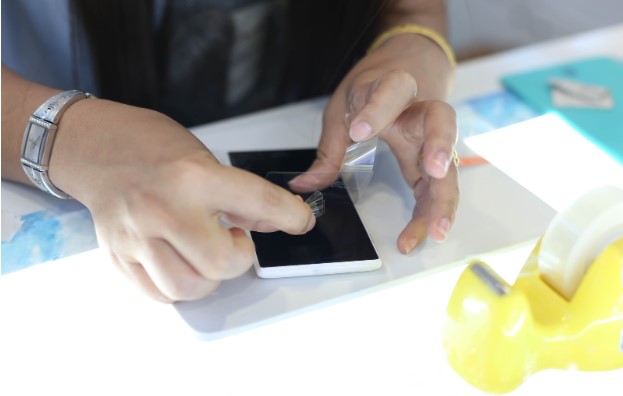 Now that your phone screen is clean and debris-free, it's time to apply the new screen protector. First, carefully align the screen protector with your phone, ensuring the edges align with the screen. Next, slowly lower the screen protector onto your phone, careful not to create bubbles. If there are any bubbles, gently lift and reapply the screen protector.
Smooth Out Any Bubbles If bubbles are on the screen protector, use a plastic card to smooth them out. Start in the center of the screen and work your way to the edges, pushing out any bubbles as you go. If there are any stubborn bubbles, you can use a hairdryer on low heat to soften the adhesive and smooth them out. Check for Alignment Once the screen protector is applied, check for alignment. Make sure the edges of the screen protector line up with the phone screen. If the screen protector is misaligned, gently lift it and reapply it. Let It Set Finally, let the screen protector set for a few minutes before using your phone. This will allow the adhesive to fully bond with the phone screen and ensure the screen protector stays in place. Conclusion Replacing your phone screen protector doesn't have to be a hassle. By following these simple steps, you can return your screen protector quickly. Remember, replacing your screen protector is an essential step in protecting your phone screen and prolonging the life of your phone. With a new screen protector, you can have peace of mind knowing that your phone is protected from scratches, cracks, and other damage.
0 Comments
Leave a Reply. |